
Introduction
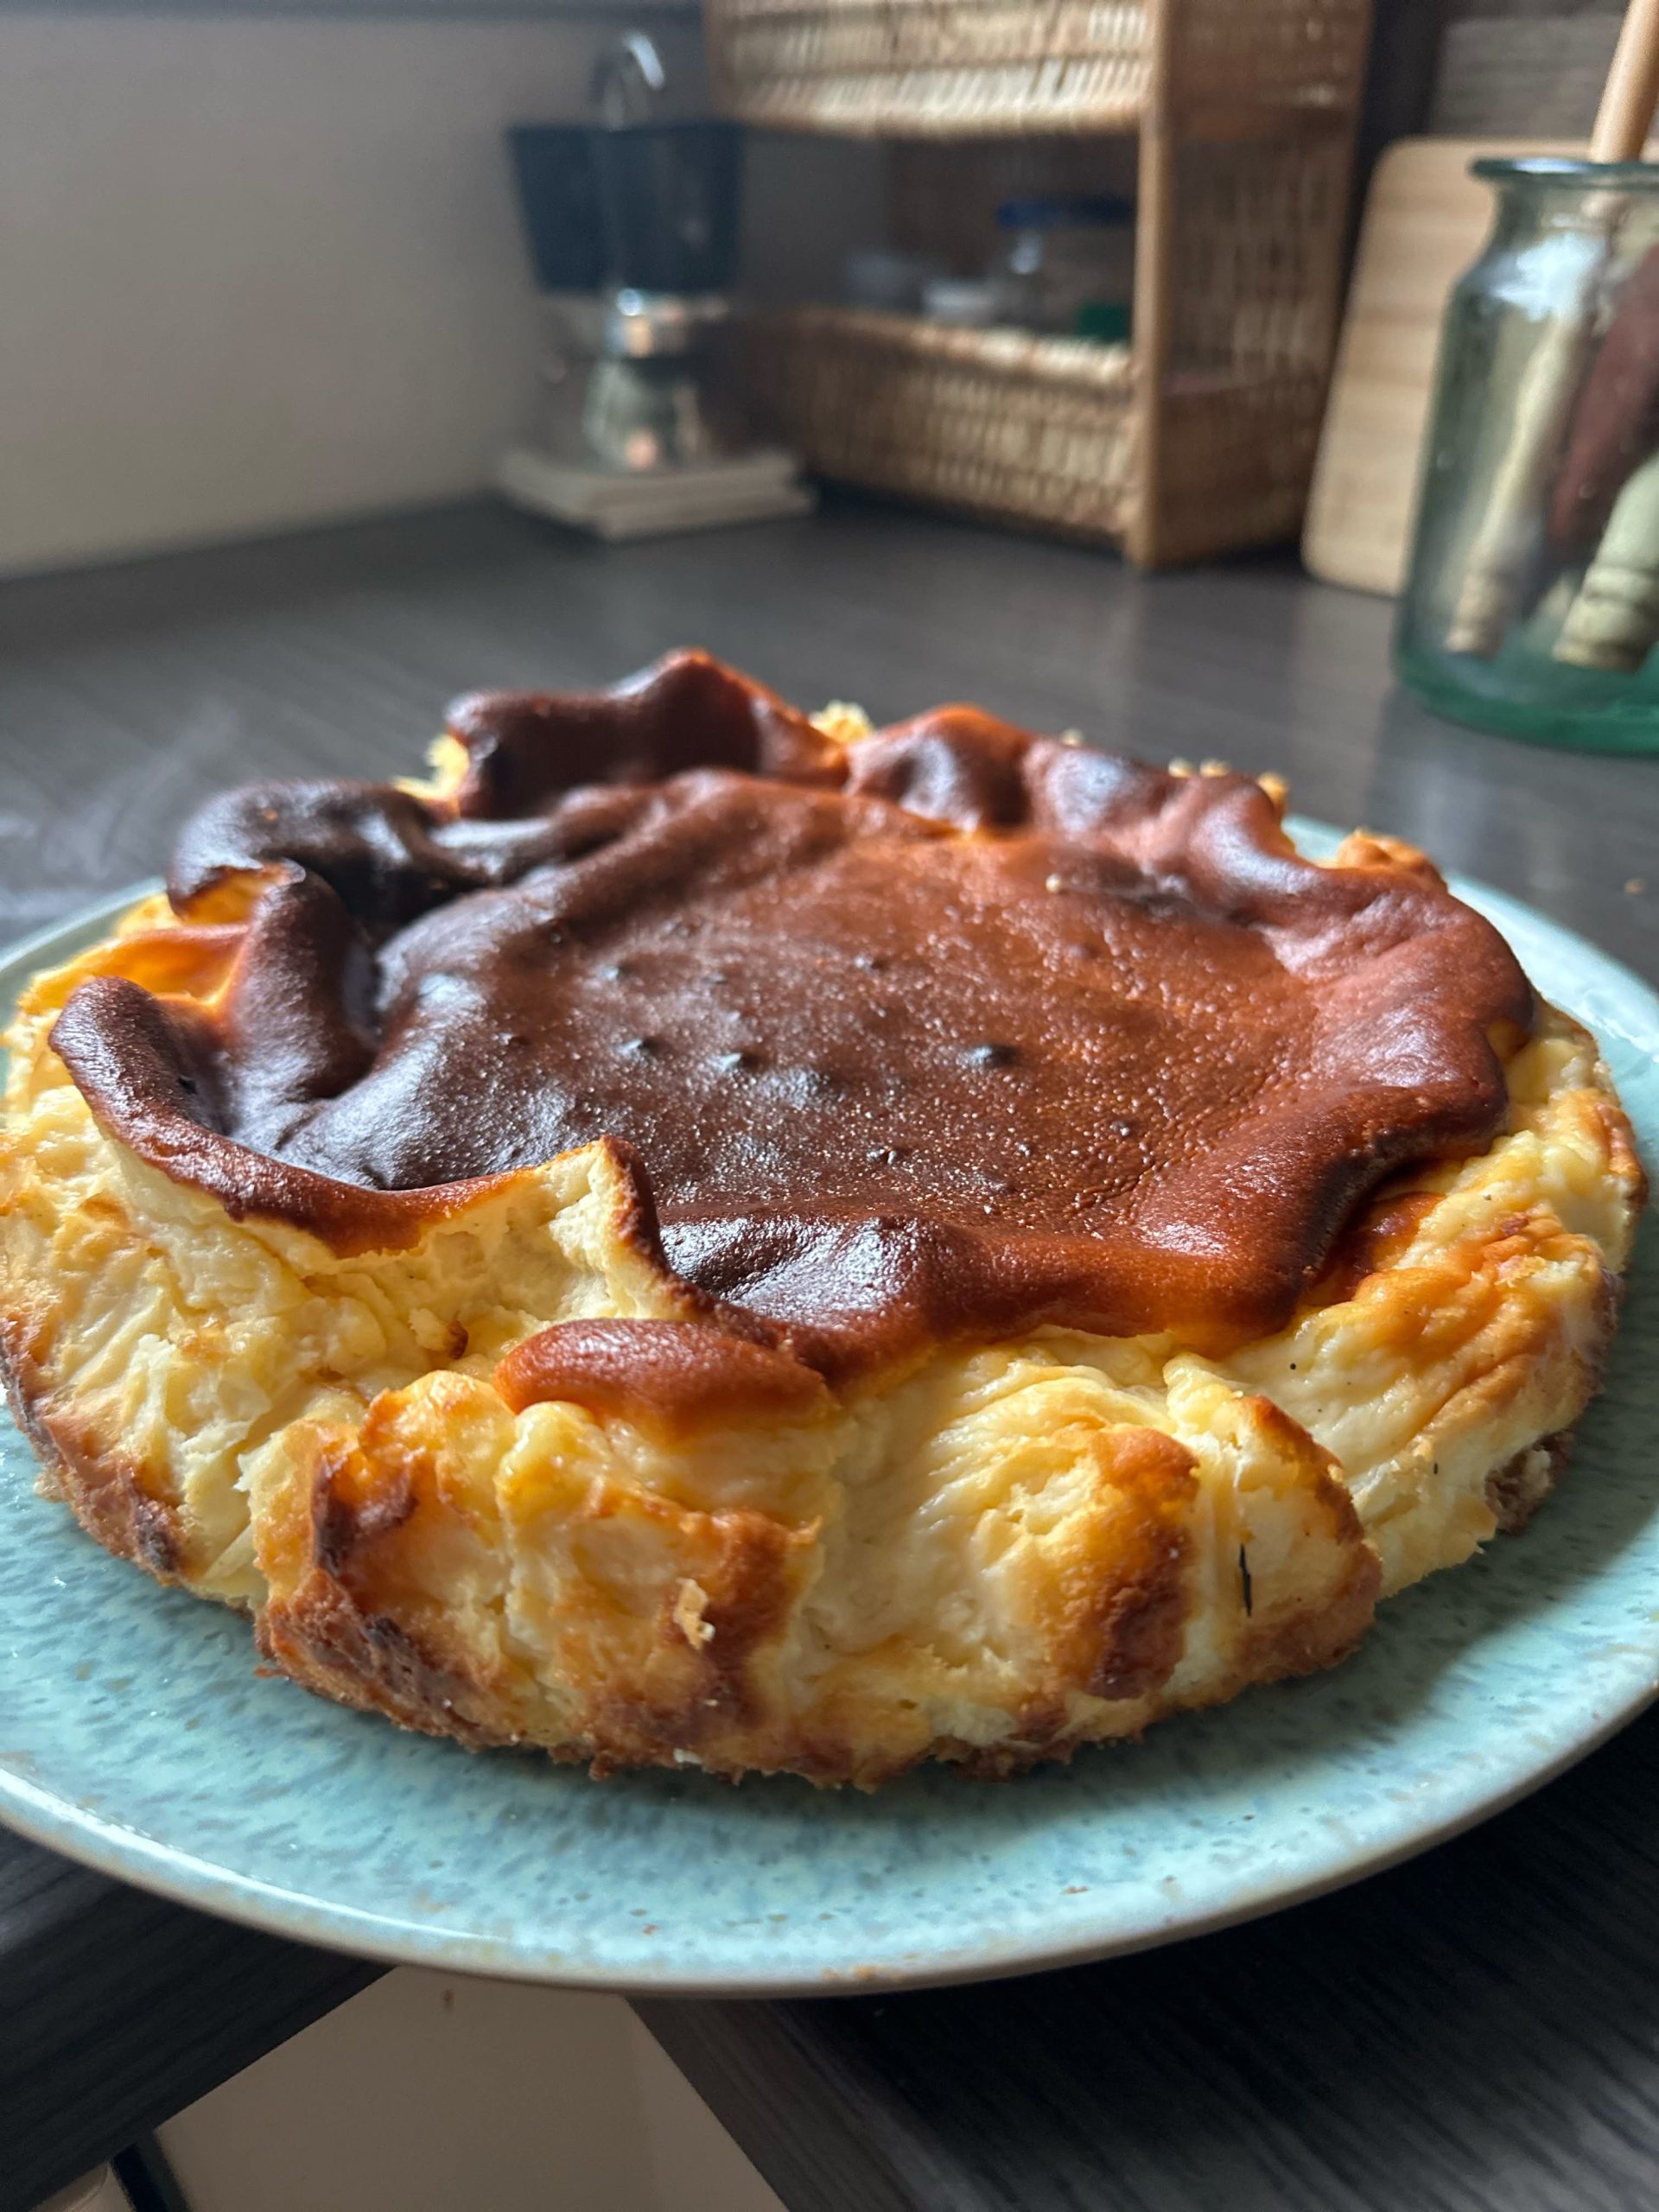
Burnt Basque Cheesecake is a rich, creamy dessert famous for its deeply caramelized top, rustic appearance, and soft, custard-like center. Unlike traditional cheesecakes, this recipe has no biscuit crust and requires no water bath. Instead, it is baked at a high temperature to create a dark, almost burnt exterior while keeping the inside smooth, delicate, and slightly wobbly.
Made with cream cheese, sugar, eggs, heavy cream, and a touch of vanilla, this cheesecake relies on simple ingredients and a straightforward preparation method. Its contrast between the bittersweet caramelized surface and the sweet, tangy filling makes every slice irresistible.
Whether served at a dinner party, a family gathering, or as a weekend baking project, Burnt Basque Cheesecake is an impressive dessert that looks sophisticated without requiring complicated decorating techniques.
Origin and Cultural Significance
Burnt Basque Cheesecake originated in San Sebastián, a coastal city in Spain’s Basque Country. It became particularly famous through La Viña, a restaurant known for its distinctive crustless cheesecake with a deeply browned surface and a soft interior.
Unlike American-style cheesecake, which typically features a biscuit crust and a carefully controlled baking process, the Basque version embraces high heat and an intentionally dark exterior. Its rustic appearance is part of its appeal, and its popularity has spread internationally as both home bakers and professional chefs have embraced its simple preparation and distinctive texture.
Ingredients
- 450 g (16 oz) full-fat block cream cheese, softened to room temperature
- 100–150 g granulated sugar, depending on your preferred sweetness
- 3 large eggs, at room temperature
- 240 ml (1 cup) heavy whipping cream
- 12 g (1½ tablespoons) cornstarch or all-purpose flour
- 1 teaspoon vanilla extract
- A small pinch of salt
Optional Additions
- Lemon zest: Add ½ teaspoon of finely grated lemon zest for a subtle citrus note.
- Almond extract: Replace a small portion of the vanilla with almond extract for a delicate nutty aroma.
- Fresh berries: Serve with raspberries, strawberries, or blueberries to balance the cheesecake’s richness.
- Berry compote: Add a spoonful of homemade berry sauce for a fruity contrast.
- Powdered sugar: Dust lightly over individual slices if you prefer a sweeter presentation.
- Espresso: Serve alongside a shot of espresso or a cup of strong coffee to complement the caramelized flavor.
Tips for Success
- Use room-temperature ingredients. Softened cream cheese and room-temperature eggs blend more smoothly, reducing the risk of lumps.
- Choose full-fat cream cheese. It produces a richer flavor and a more stable, creamy texture than reduced-fat alternatives.
- Line the pan generously. Use two overlapping sheets of parchment paper if necessary, allowing the paper to extend about 2 inches above the rim.
- Avoid overmixing. Mix until the ingredients are combined and smooth. Excessive beating can incorporate too much air and affect the final texture.
- Watch the color, not just the clock. The top should become deeply browned, but oven performance varies. Begin checking toward the end of the recommended baking time.
- Keep the center slightly wobbly. A gentle wobble is characteristic of this cheesecake, although the center should not look completely liquid.
- Expect the cheesecake to sink. The cake naturally rises in the oven and settles as it cools. This is normal and contributes to its signature appearance.
- Allow enough cooling time. The cheesecake becomes firmer as it cools, so avoid cutting it immediately after removing it from the oven.
- Chill for cleaner slices. Refrigeration produces a firmer texture and makes slicing easier, while serving closer to room temperature gives a softer, creamier mouthfeel.
Instructions
Step 1: Prepare the Pan and Oven
- Preheat the oven to 400°F (200°C).
- Take an 8-inch (20 cm) round cake pan or springform pan.
- Line the pan with parchment paper, pressing it into the base and allowing it to form natural pleats along the sides.
- Make sure the parchment extends approximately 2 inches above the rim to accommodate the cheesecake as it rises during baking.
The parchment does not need to lie perfectly flat. Its folds help create the characteristic rustic edges.
Step 2: Beat the Cream Cheese and Sugar
- Place the softened cream cheese in a large mixing bowl.
- Beat with an electric mixer on medium speed until smooth and free of lumps.
- Add the sugar and continue mixing until the mixture is creamy and evenly combined.
- Scrape down the sides and bottom of the bowl with a spatula to ensure no unmixed cream cheese remains.
Step 3: Add the Eggs
- Add the eggs one at a time, mixing after each addition until incorporated.
- Scrape down the bowl as needed to maintain a uniform batter.
- Avoid beating excessively once the eggs have been incorporated.
The batter should be smooth and creamy, without visible streaks of egg or cream cheese.
Step 4: Incorporate the Cream and Flavorings
- Pour in the heavy whipping cream.
- Add the vanilla extract and pinch of salt.
- Mix on low speed until the mixture becomes smooth and homogeneous.
- Sift the cornstarch or flour over the batter.
- Gently whisk or mix on low speed until no dry pockets remain.
If necessary, scrape the bowl one final time and mix briefly to ensure an even consistency.
Step 5: Fill the Pan
- Pour the batter into the prepared pan.
- Gently tap the pan against the counter once or twice to release large air bubbles.
- Smooth the surface lightly with a spatula if needed.
Step 6: Bake the Cheesecake
- Place the pan on the middle rack of the preheated oven.
- Bake for approximately 35–45 minutes, checking the cheesecake as it approaches the end of the baking time.
- Look for a deeply golden-brown to dark-brown top, with darker areas around the edges.
- Gently shake the pan. The outer portion should look set, while the center should still wobble noticeably like a soft custard.
- If the top has not developed enough color, allow a little additional baking time while monitoring it closely.
The cheesecake will continue to set as it cools. Baking time varies according to the oven, pan material, and the desired consistency.
Step 7: Cool the Cheesecake
- Remove the cheesecake from the oven and place the pan on a wire rack.
- Let it cool completely in the pan at room temperature. I